From Coffee Beans to Screws, Building a Hardware Prototype
August 6, 2025
In 2022, I spent almost a year looking for a business partner to start a new venture. During that time, I had a lot of conversations with people about various ideas and even tried out a few. One of the more intriguing ones was a device that could detect high-quality coffee beans. The catch was that it needed to work offline because coffee plantations often have unreliable internet. While the concept was interesting, there was no chemistry with the other person, so I set it aside, without even trying the idea.
Fast forward to 2023. The coffee idea popped back into my mind, and I wondered: “Could I build a small, portable, and relatively ‘cheap’ version of the device that could detect multiple objects instead of just one?” I wasn’t sure what the perfect use case would be—maybe agriculture, maybe manufacturing—but I wanted to explore the possibilities. Before pitching the idea to anyone, though, I needed to figure out if it was even doable.
The first use case I focused on was detecting multiple high-quality coffee beans at once, a step up from the original idea, which targeted single beans. I gave myself a deadline: an industrial transformation conference four months away. With Christmas in between, a full-time job, and family responsibilities, it was a tight schedule. My goal was to have a working prototype ready to showcase at the event.

Days until the conference: 128
- Choosing the Hardware
- Problem 1: Resolution vs Memory
- Problem 2: No Structure for the Dev Board
- Problem 3: Lighting Inconsistency
- Problem 4: Powering the Neopixel Ring
- Problem 5: Making the Prototype Portable
- The Outcome
- What I Learned
Choosing the Hardware
I chose the ESP-EYE because it had everything I needed: a decent camera (2 MP), BLE for showcasing outputs, and proven AI/ML performance in recognizing faces. I thought, If it can recognize faces with good accuracy and speed, it should be able to detect multiple objects without any problems… right?
Problem 1: Resolution vs Memory
That optimism didn’t last long. When I tried taking pictures of coffee beans at home at maximum resolution, the photos were too large, and the ESP kept restarting due to memory issues.
Lowering the resolution helped, but the coffee beans became too small to tell the good ones from the bad. Since I didn’t want to buy more development boards, I decided to test the device with small, distinguishable objects I had at home. I settled on screws of different colors, shapes, and sizes. They were big enough to differentiate, even at low resolutions like 160x120 using JPEG images.
Here are some notes I made about image quality and memory usage:
- VGA, jpeg_quality=10 (640x480 ~ 30KB)
- QVGA, jpeg_quality=5 (320x240 ~ 8KB, 14KB@5)
- HQVGA, jpeg_quality=15 (240x176 ~ 4KB, 5KB@15, 7KB@10)
- QQVGA, jpeg_quality=20 (160x120 ~ 2KB, 3KB@20)
- 96X96, jpeg_quality=60 (too low for this project)
Time spent: 2 days Days until the conference: 126
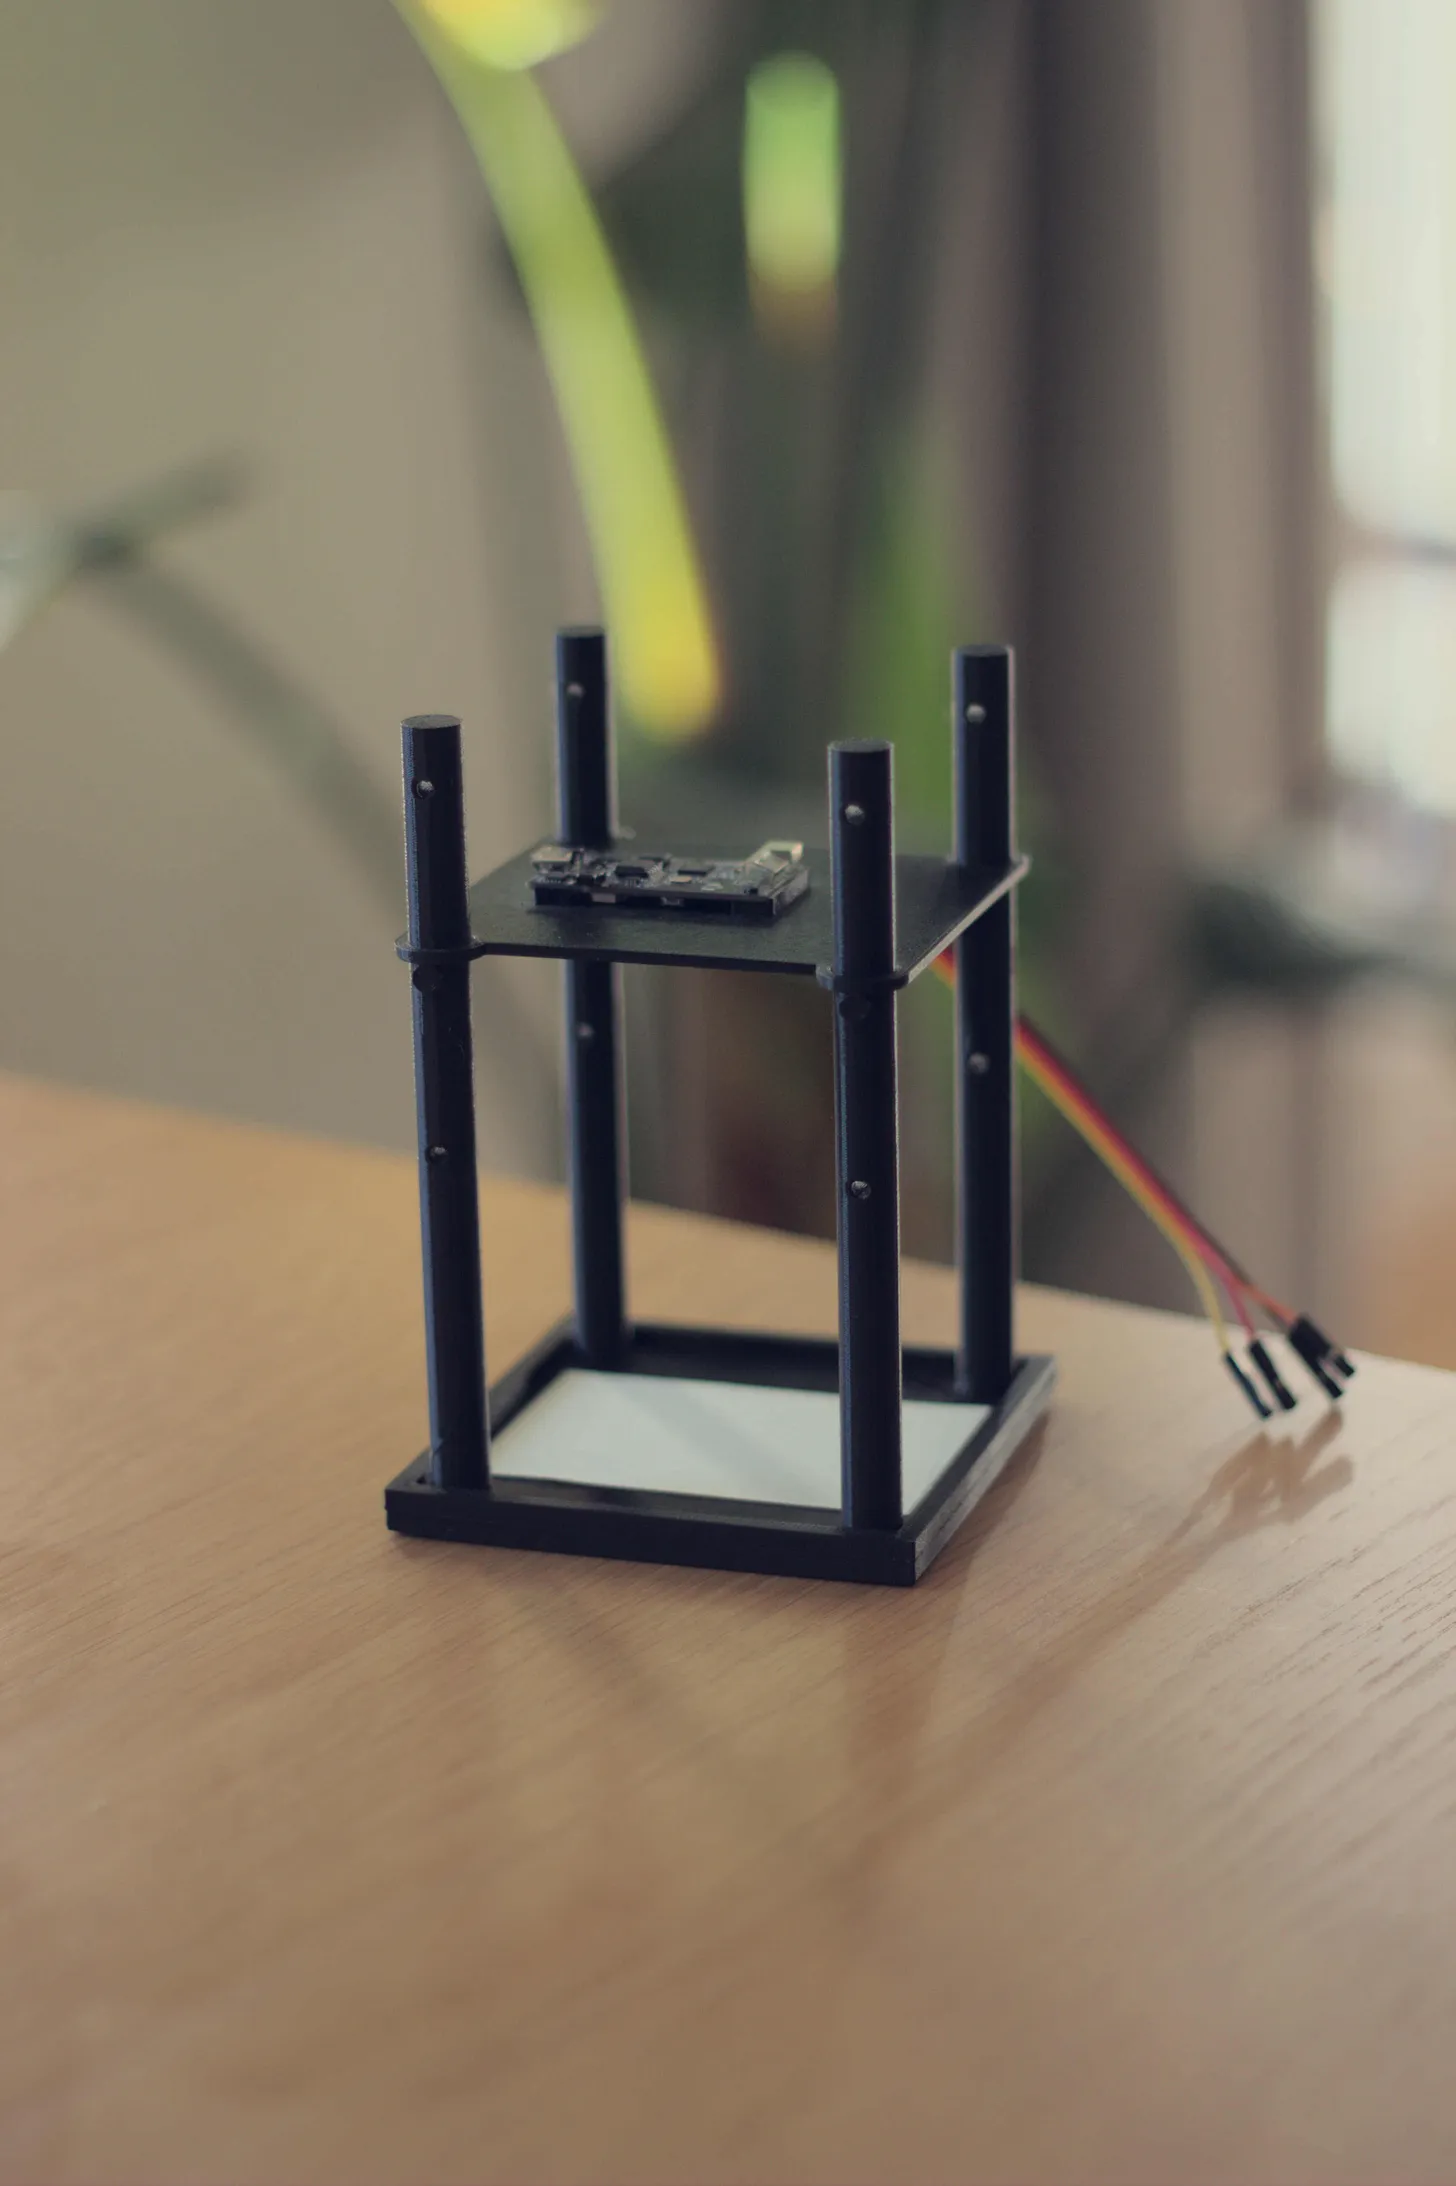
Problem 2: No Structure for the Dev Board
I needed a structure for the ESP-EYE to make it usable. A friend with a 3D printer helped me out, creating a simple structure for the device.
Time spent: Around 2 weeks Days until the conference: 110
Problem 3: Lighting Inconsistency
When I started building my dataset for training, I noticed the photos were inconsistent due to varying lighting from my window and lamp. I considered using digital image processing techniques but decided to make the lighting consistent instead.
I bought a Neopixel ring with 12 LEDs after seeing some videos about its brightness. Problem solved.
Time spent: 2 weeks Days until the conference: 95
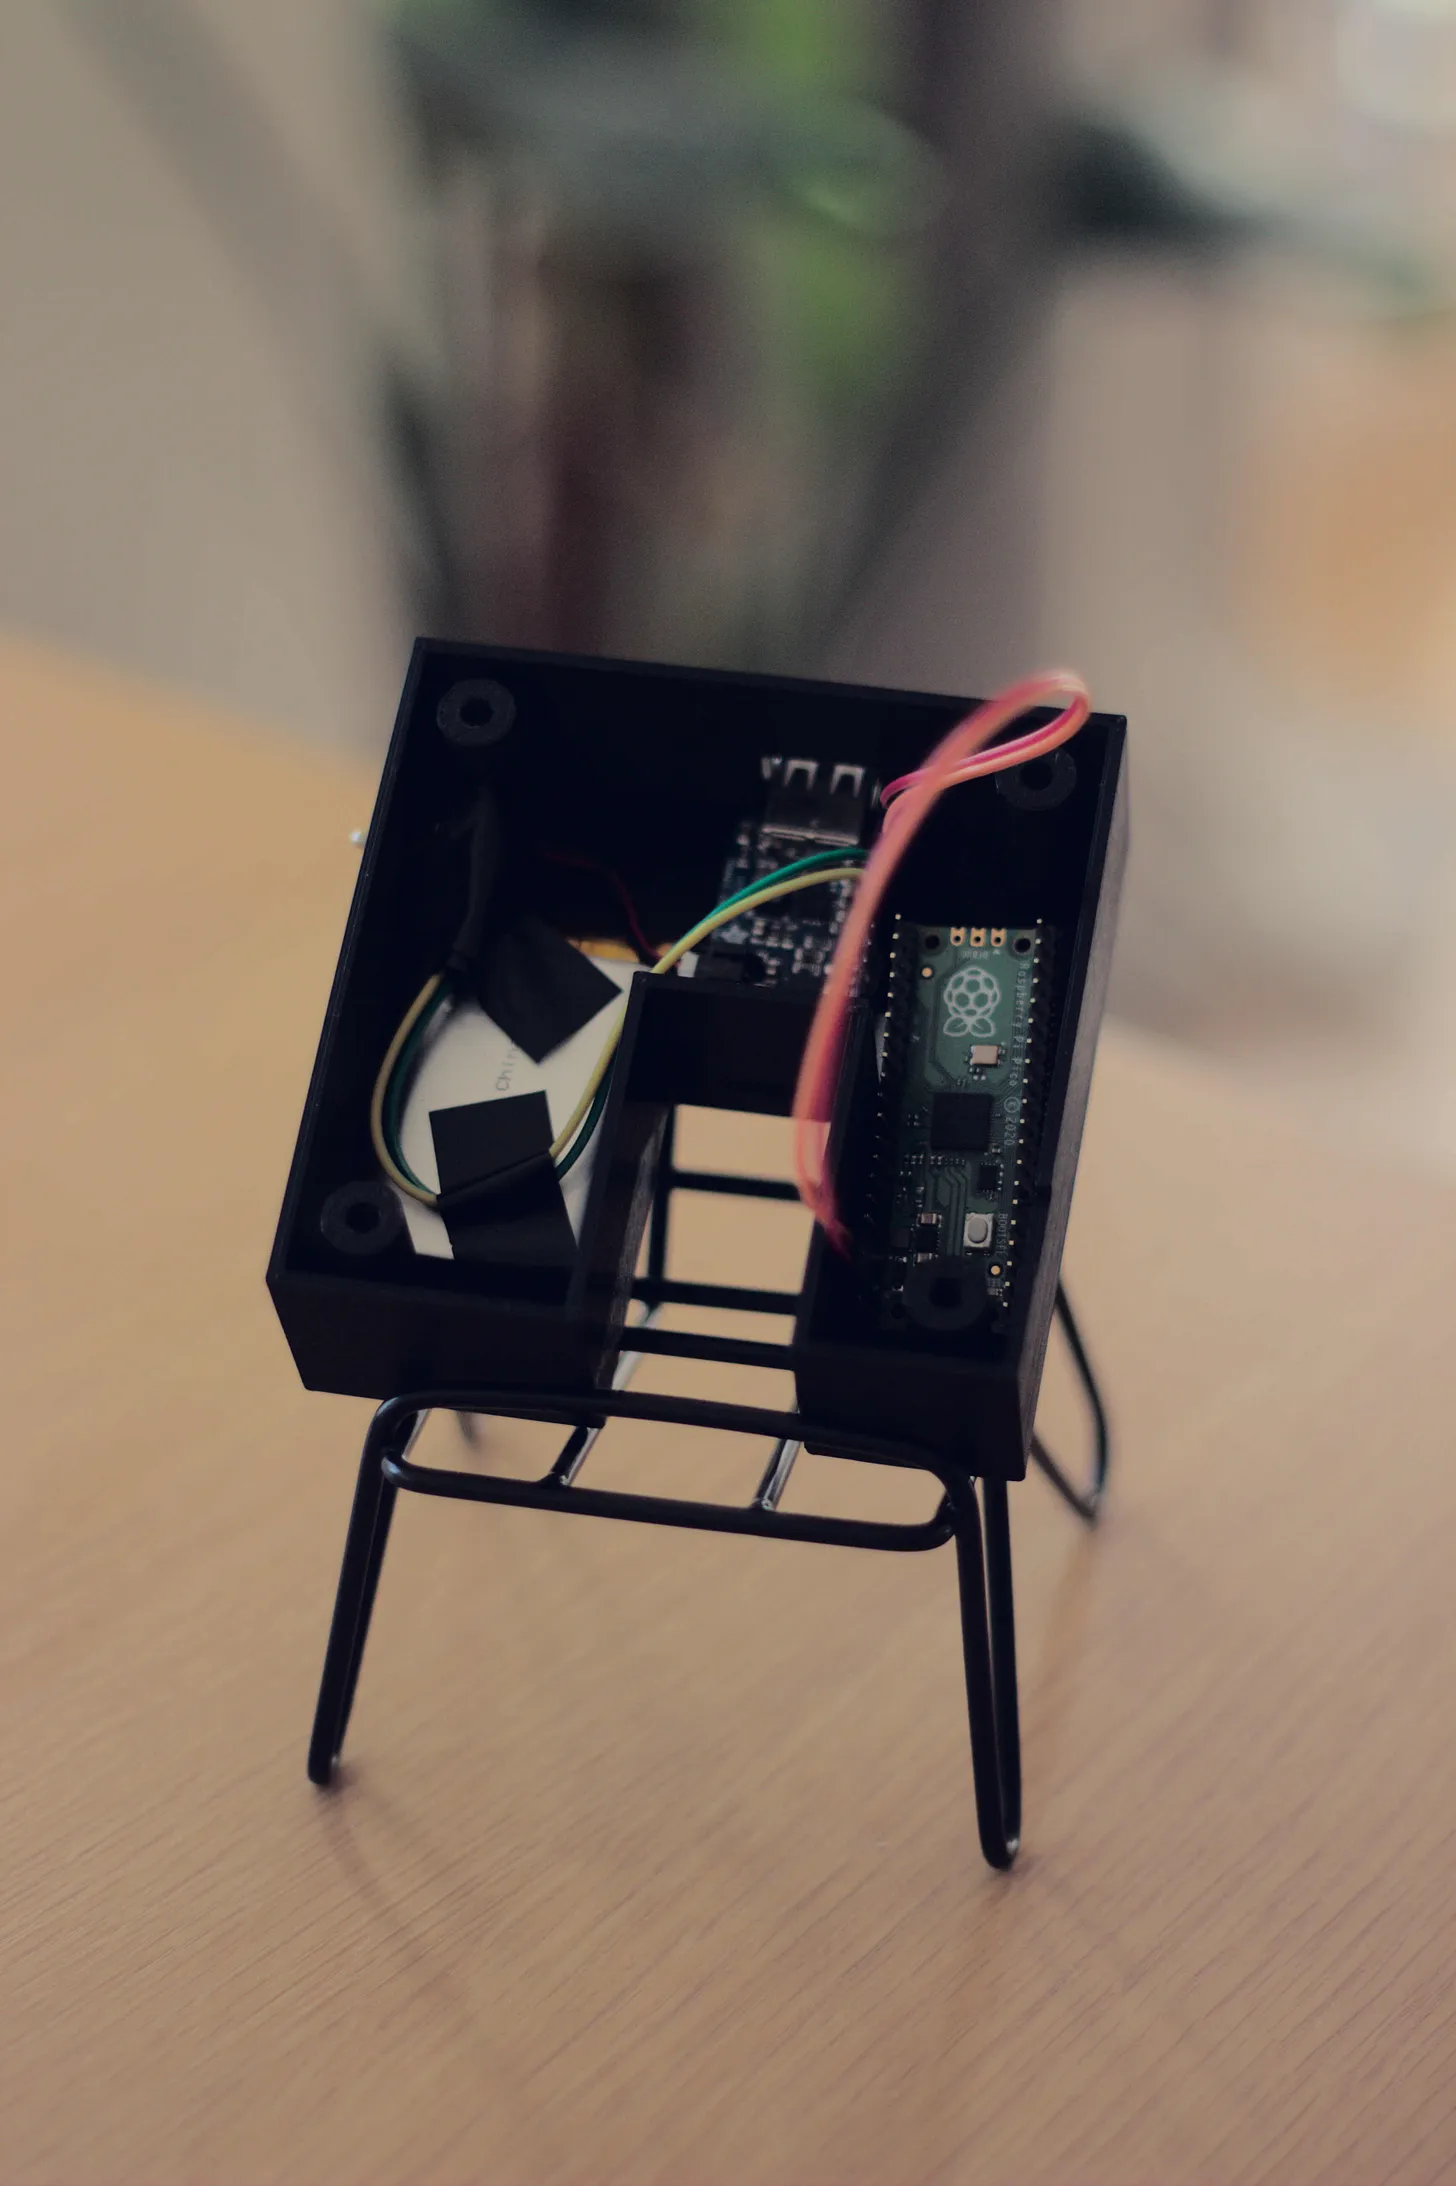
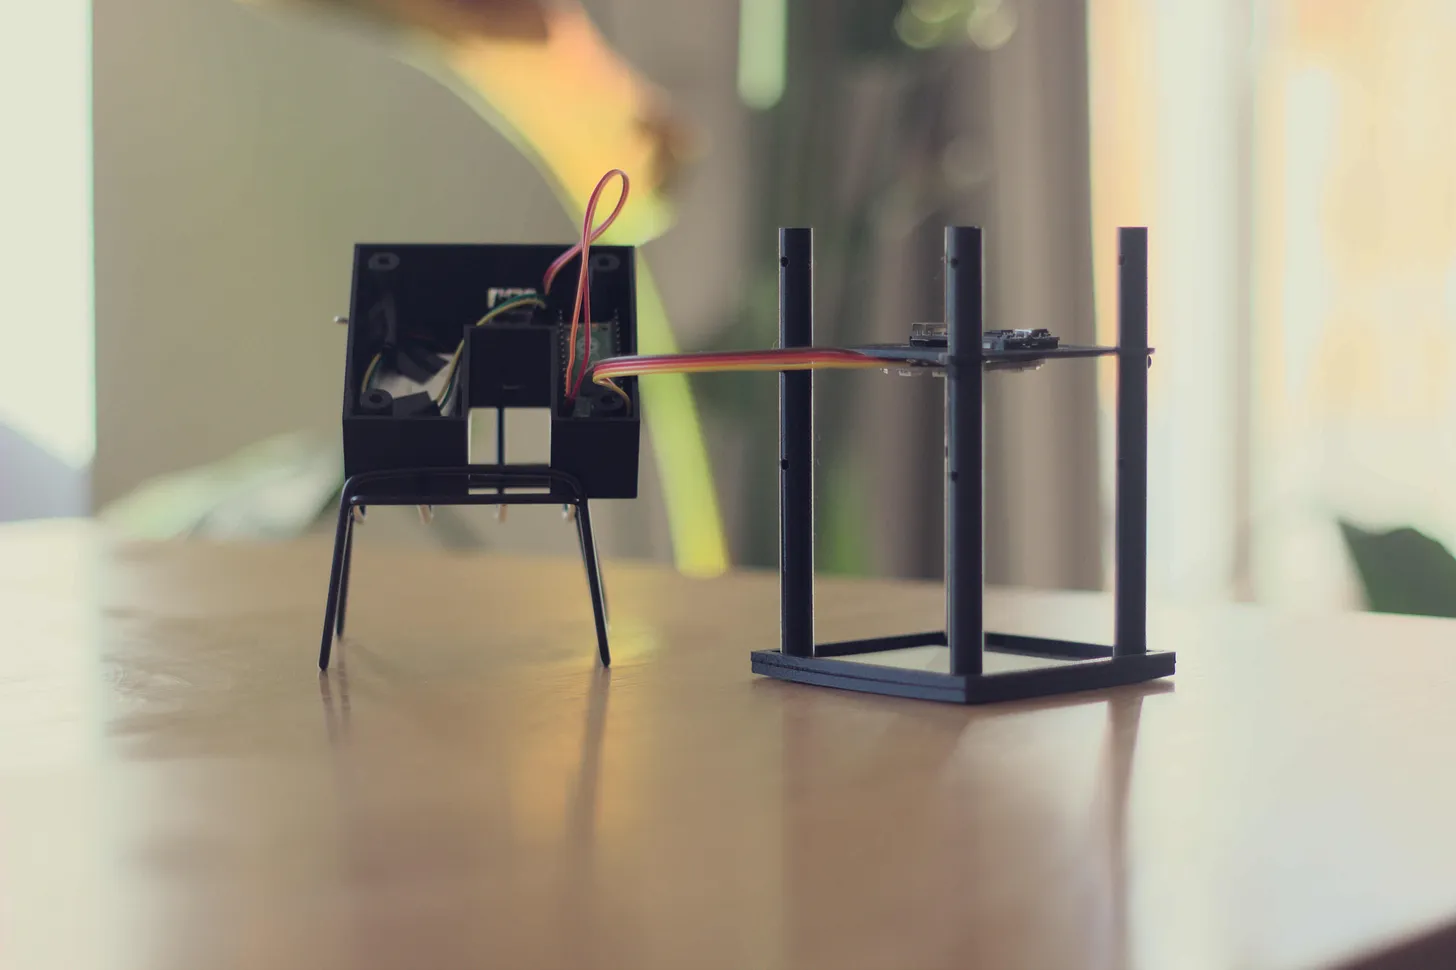
Problem 4: Powering the Neopixel Ring
I overlooked the fact that the ESP-EYE didn’t have I/O pins or a way to power the LED ring. After some searching, I found an old Raspberry Pi Pico in my boxes. It had plenty of I/O pins and a 3.3V output. Perfect. I soldered the necessary pins, coded the Pico, and got the LEDs working.
Time spent: 1 week Days until the conference: 90
With the Neopixel ring mounted near the camera, I started taking pictures again. This time, the images were consistent under various external lighting conditions. I trained the model and deployed it on the ESP-EYE. And… it worked!
Time spent: 7 weeks Days until the conference: 35
Problem 5: Making the Prototype Portable
The prototype worked, but I still needed a laptop to power it. Since “portable” was one of my selling points, I had to fix this. I bought a medium-sized Li-Po battery and an Adafruit PowerBoost. My 3D-printing friend made a new base to house the components and cables.
Time spent: 3 weeks (11 weeks total) Days until the conference: 15
The Outcome
After four months of work, I had a prototype ready to show at the conference. Here’s why it took so long:
- Component delivery times
- Balancing a full-time job and family
- My friend with the 3D printer also had limited availability
I presented the prototype to several people. Some found it interesting, but most weren’t particularly engaged. Nobody said, “Come on Monday to show this to my team.” That’s life—building something is hard, but finding a buyer can be even harder, emotionally harder.
What I Learned
- Avoid building custom hardware when possible. Use development boards to test ideas quickly instead of challenging your engineering skills.
- Stick to what you know, and ask for help when you don’t. Speed matters.
- Make your prototype portable and stable. If it’s too fragile, it won’t survive impromptu demos.
- Set yourself a deadline. It will help you to get things done.
The prototype is now sitting in my cabinet. I occasionally show it to people—you never know who might be interested. For now, though, I’ve paused my search for a customer.
That’s it for this post. I’ve shared the hardware challenges I faced. In the next newsletter, I’ll dive into the software problems I encountered.